Excelでワークシート内のすべての罫線の太さを調整するのは時間がかかり、面倒な作業です。本記事では、Excel内でワークシート内のすべての罫線の太さを一括で変更するマクロについて書きます。
今回作成したマクロは、一つのシートに設定されている罫線の太さを一括で「一番太い線」に変更するものです。表形式の罫線なら通常の機能で簡単に変更できますが、罫線がバラバラに設定されているようなシート(例えばファミリーツリーや組織図)などの罫線を変更するのは一つ一つ手作業になるので、とても時間がかかります。
このプロセスを自動化することで、貴重な時間と労力を節約することができます。
目次
シートに設定されているすべての罫線の太さを変えるマクロ
Sub AdjustGridlineThickness()
    Dim ws As Worksheet
    Dim rng As Range
    Dim lastCell As Range
    Dim cell As Range

    Set ws = ThisWorkbook.Worksheets("Sheet1") ' Replace "Sheet1" with your actual sheet name

Application.ScreenUpdating = False
    ' Find the last cell with data in the worksheet
    Set lastCell = ws.Cells.SpecialCells(xlLastCell).Cells

    If Not lastCell Is Nothing Then

        ' Define the range to validate based on the last cell with data
        Set rng = ws.Range("A1", lastCell)

        ' Iterate through each cell in the defined range
        For Each cell In rng
            ' Check if the cell has existing gridlines
            If cell.Borders(xlEdgeLeft).LineStyle <> xlNone Then
                cell.Borders(xlEdgeLeft).Weight = xlThick ' Adjust the thickness for left gridline
            End If

            If cell.Borders(xlEdgeTop).LineStyle <> xlNone Then
                cell.Borders(xlEdgeTop).Weight = xlThick ' Adjust the thickness for top gridline
            End If

            If cell.Borders(xlEdgeRight).LineStyle <> xlNone Then
                cell.Borders(xlEdgeRight).Weight = xlThick ' Adjust the thickness for right gridline
            End If

            If cell.Borders(xlEdgeBottom).LineStyle <> xlNone Then
                cell.Borders(xlEdgeBottom).Weight = xlThick ' Adjust the thickness for bottom gridline
            End If
        Next cell
    End If
Application.ScreenUpdating = True

End Sub
※実行前にデータのバックアップを取ることを忘れないでください。
※「sheet1」という部分は実際に使うシートにあわせて名前を変えてください。
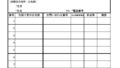
このマクロはシート内の罫線を一括で指定した太さに変更します。例えばこんな感じです。
元の罫線(細線)から、

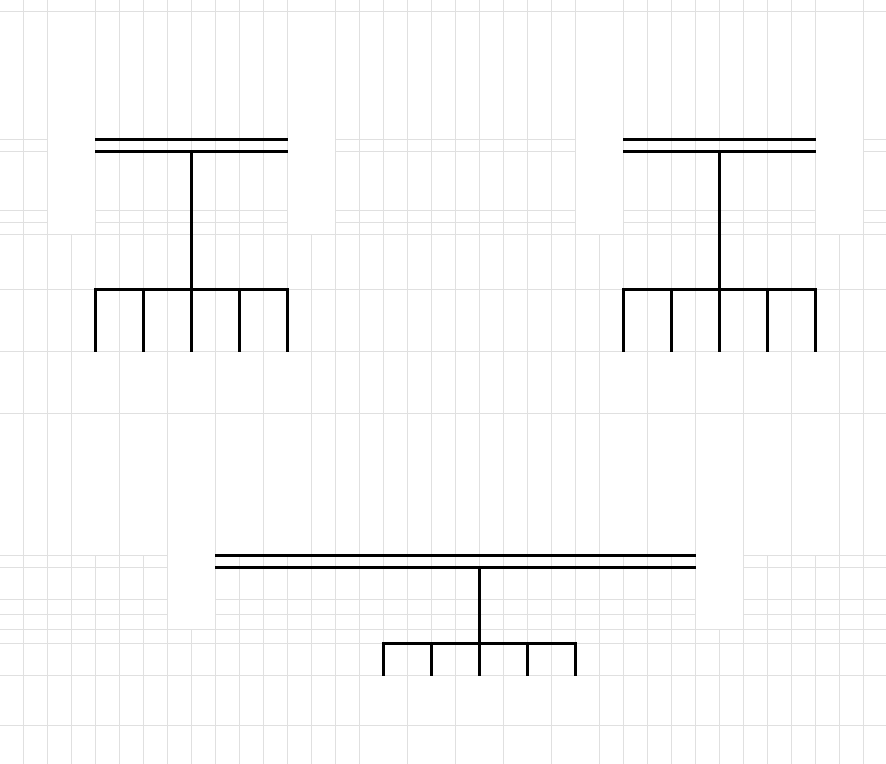
一番太いものに変更します。
罫線の太さの種類
罫線の太さは4種類あります。「Weight = xlThick」のように表すことができ、「xlThick」の部分を下記のいずれかに変更することで、太さを自由に設定することができます。
| 罫線の太さ | 表記 |
| 最も細い罫線(見えない) | xlHairline |
| 細線 | xlThin |
| 普通 | xlMedium |
| 太線 | xlThick |
おわりに
組織図など、ランダムにひかれた罫線の太さの変更がある場合などにご活用ください。
マクロを作成することで、手作業でやるよりも多くの時間を節約することができるようになります。